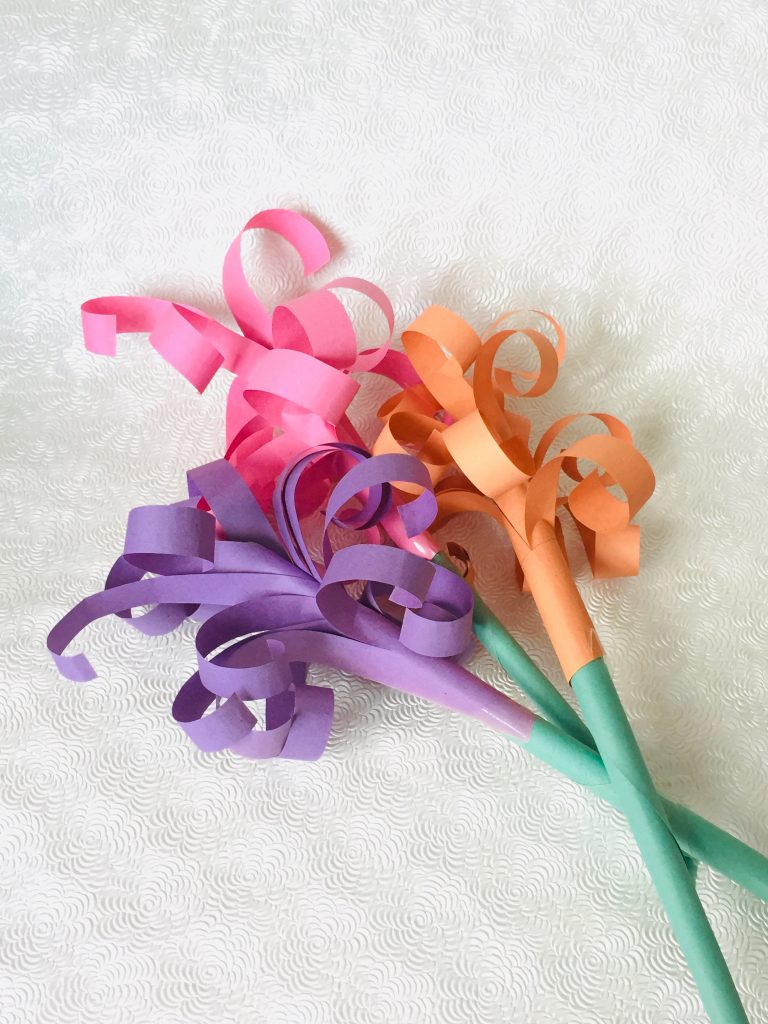
Spring is in the air, so we thought it would be a great time to create a paper flower bouquet. This flower bouquet craft uses very little materials. While doing this craft, the kids will be able to practice scissor skills and fine motor skills.
You will need
- 3 green & 3 other colour A4 sheets of paper (I used pink, purple and orange)
- Glue/Tape
- Scissors (to cut the coloured materials – Grown ups, you may need to help with this!)
- Pencil
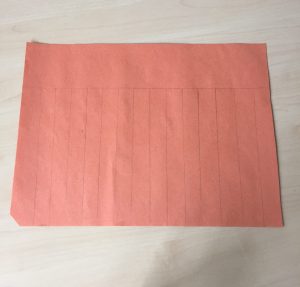
Step 1
On the pink piece of paper, lay horizontally and draw a line about 5-6 cm from the top. From this line, draw lines roughly 2-3 cm from each other vertically down the page (like the image below). Once these have been drawn up, carefully cut the vertical lines, but only cutting to the line. Repeat for the orange and purple paper too.
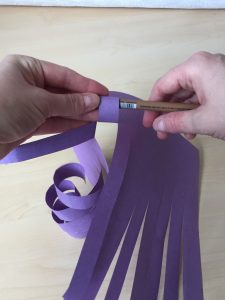
Step 2
Using a pencil, carefully wrap one strip of paper around, and roll, roll, roll until you reach the line. Repeat for every strip of paper, until they are all looking curly. Repeat this for the purple and orange paper. These are your ‘petals’.
Step 3
With the green paper, from one corner, wrap up and roll into a stem form. Once you have rolled this to the end, tape together to keep it in place. Repeat for each ‘stem’.
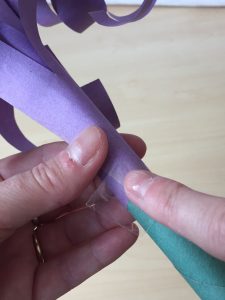
Step 4
The next step is to wrap the ‘petals’ around the ‘stem’. Place one end of the green stem onto the flat part on the flower, and tape to hold in place. Wrap around on a slight diagonal angle so the paper rolls lower and lower down the stem the further you wrap it around. Once you have wrapped it all, use tape to hold it in place.
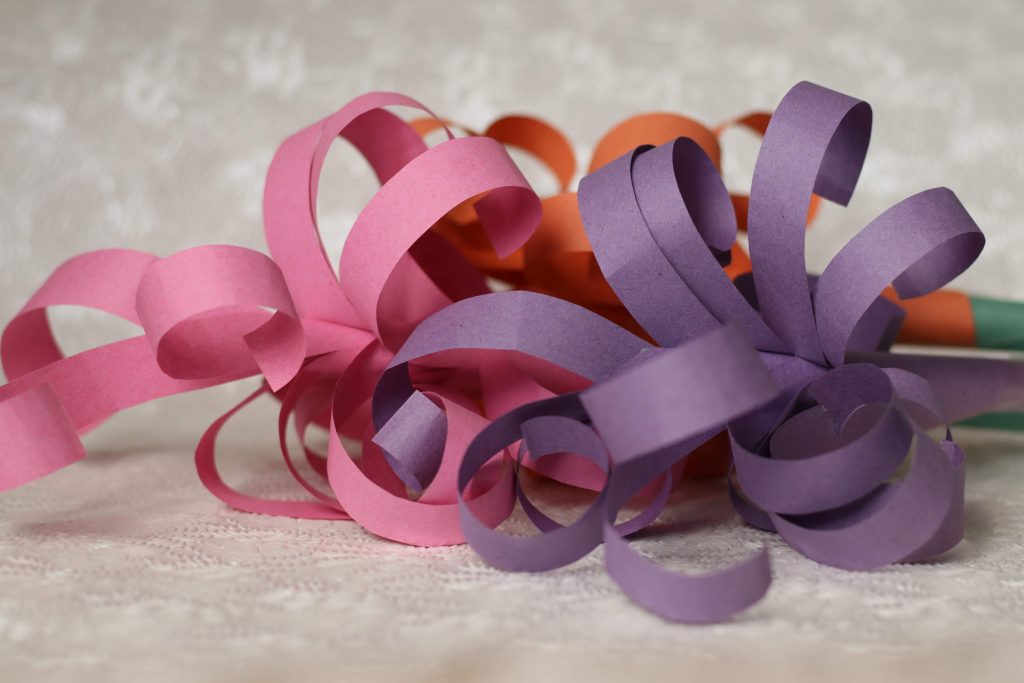
Your flower bouquet craft is now complete!