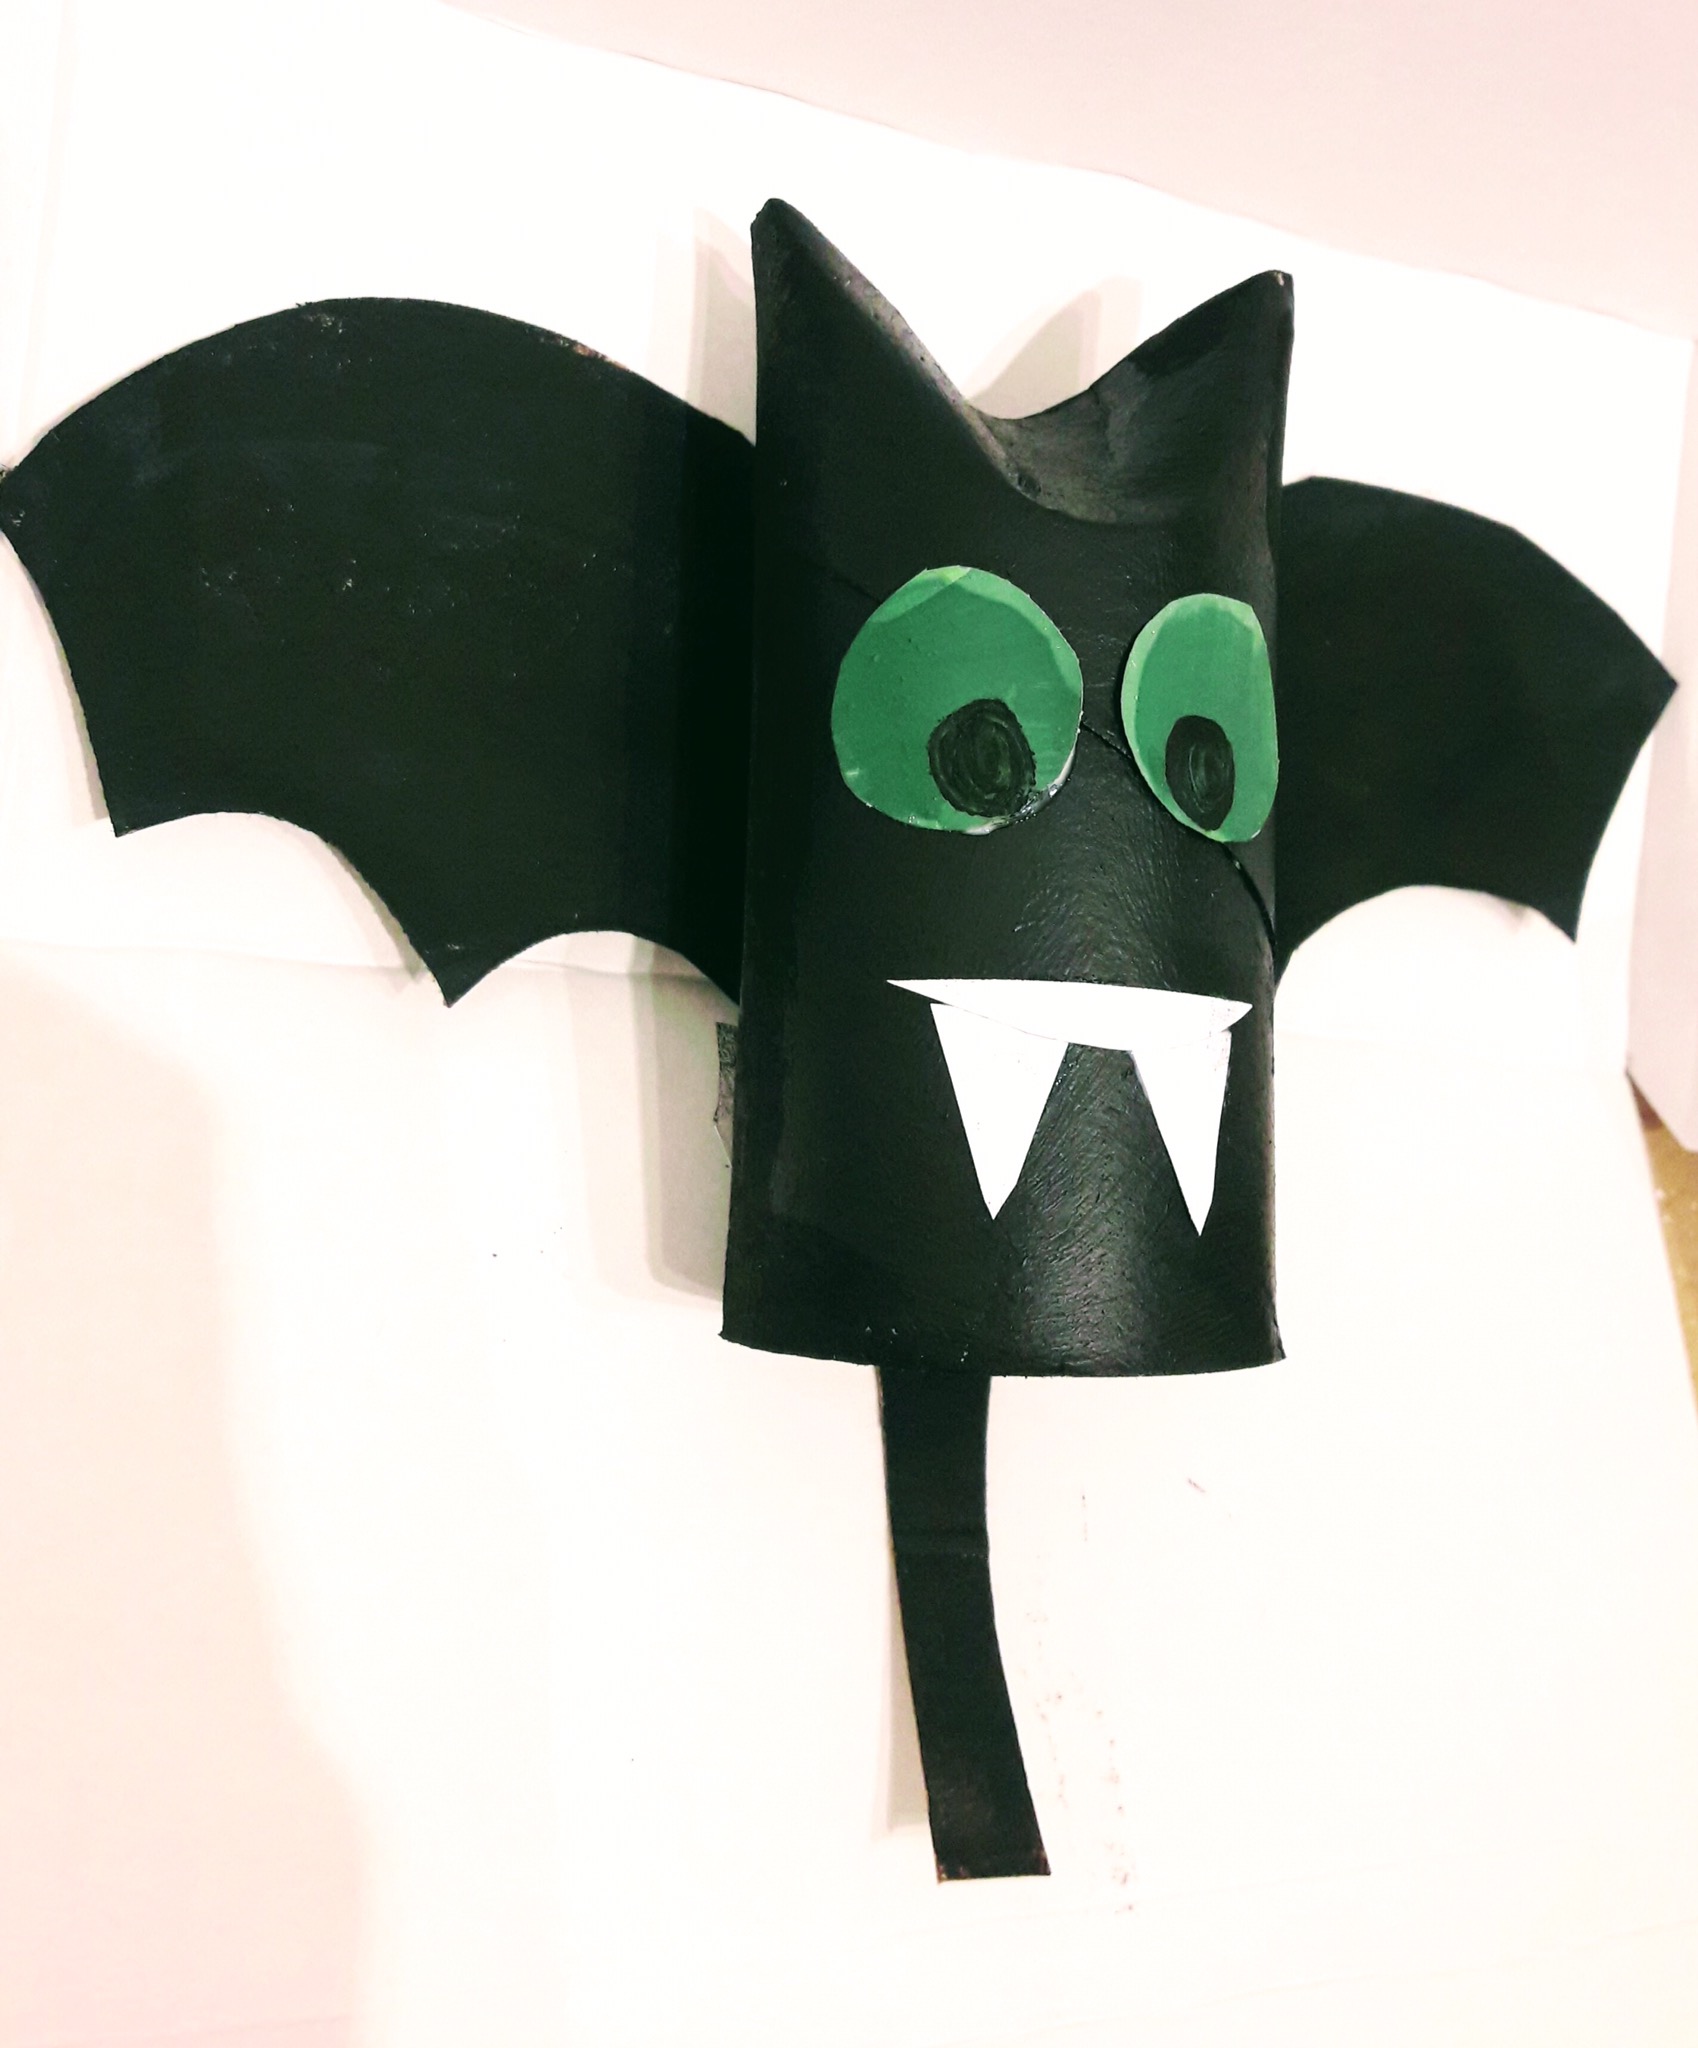
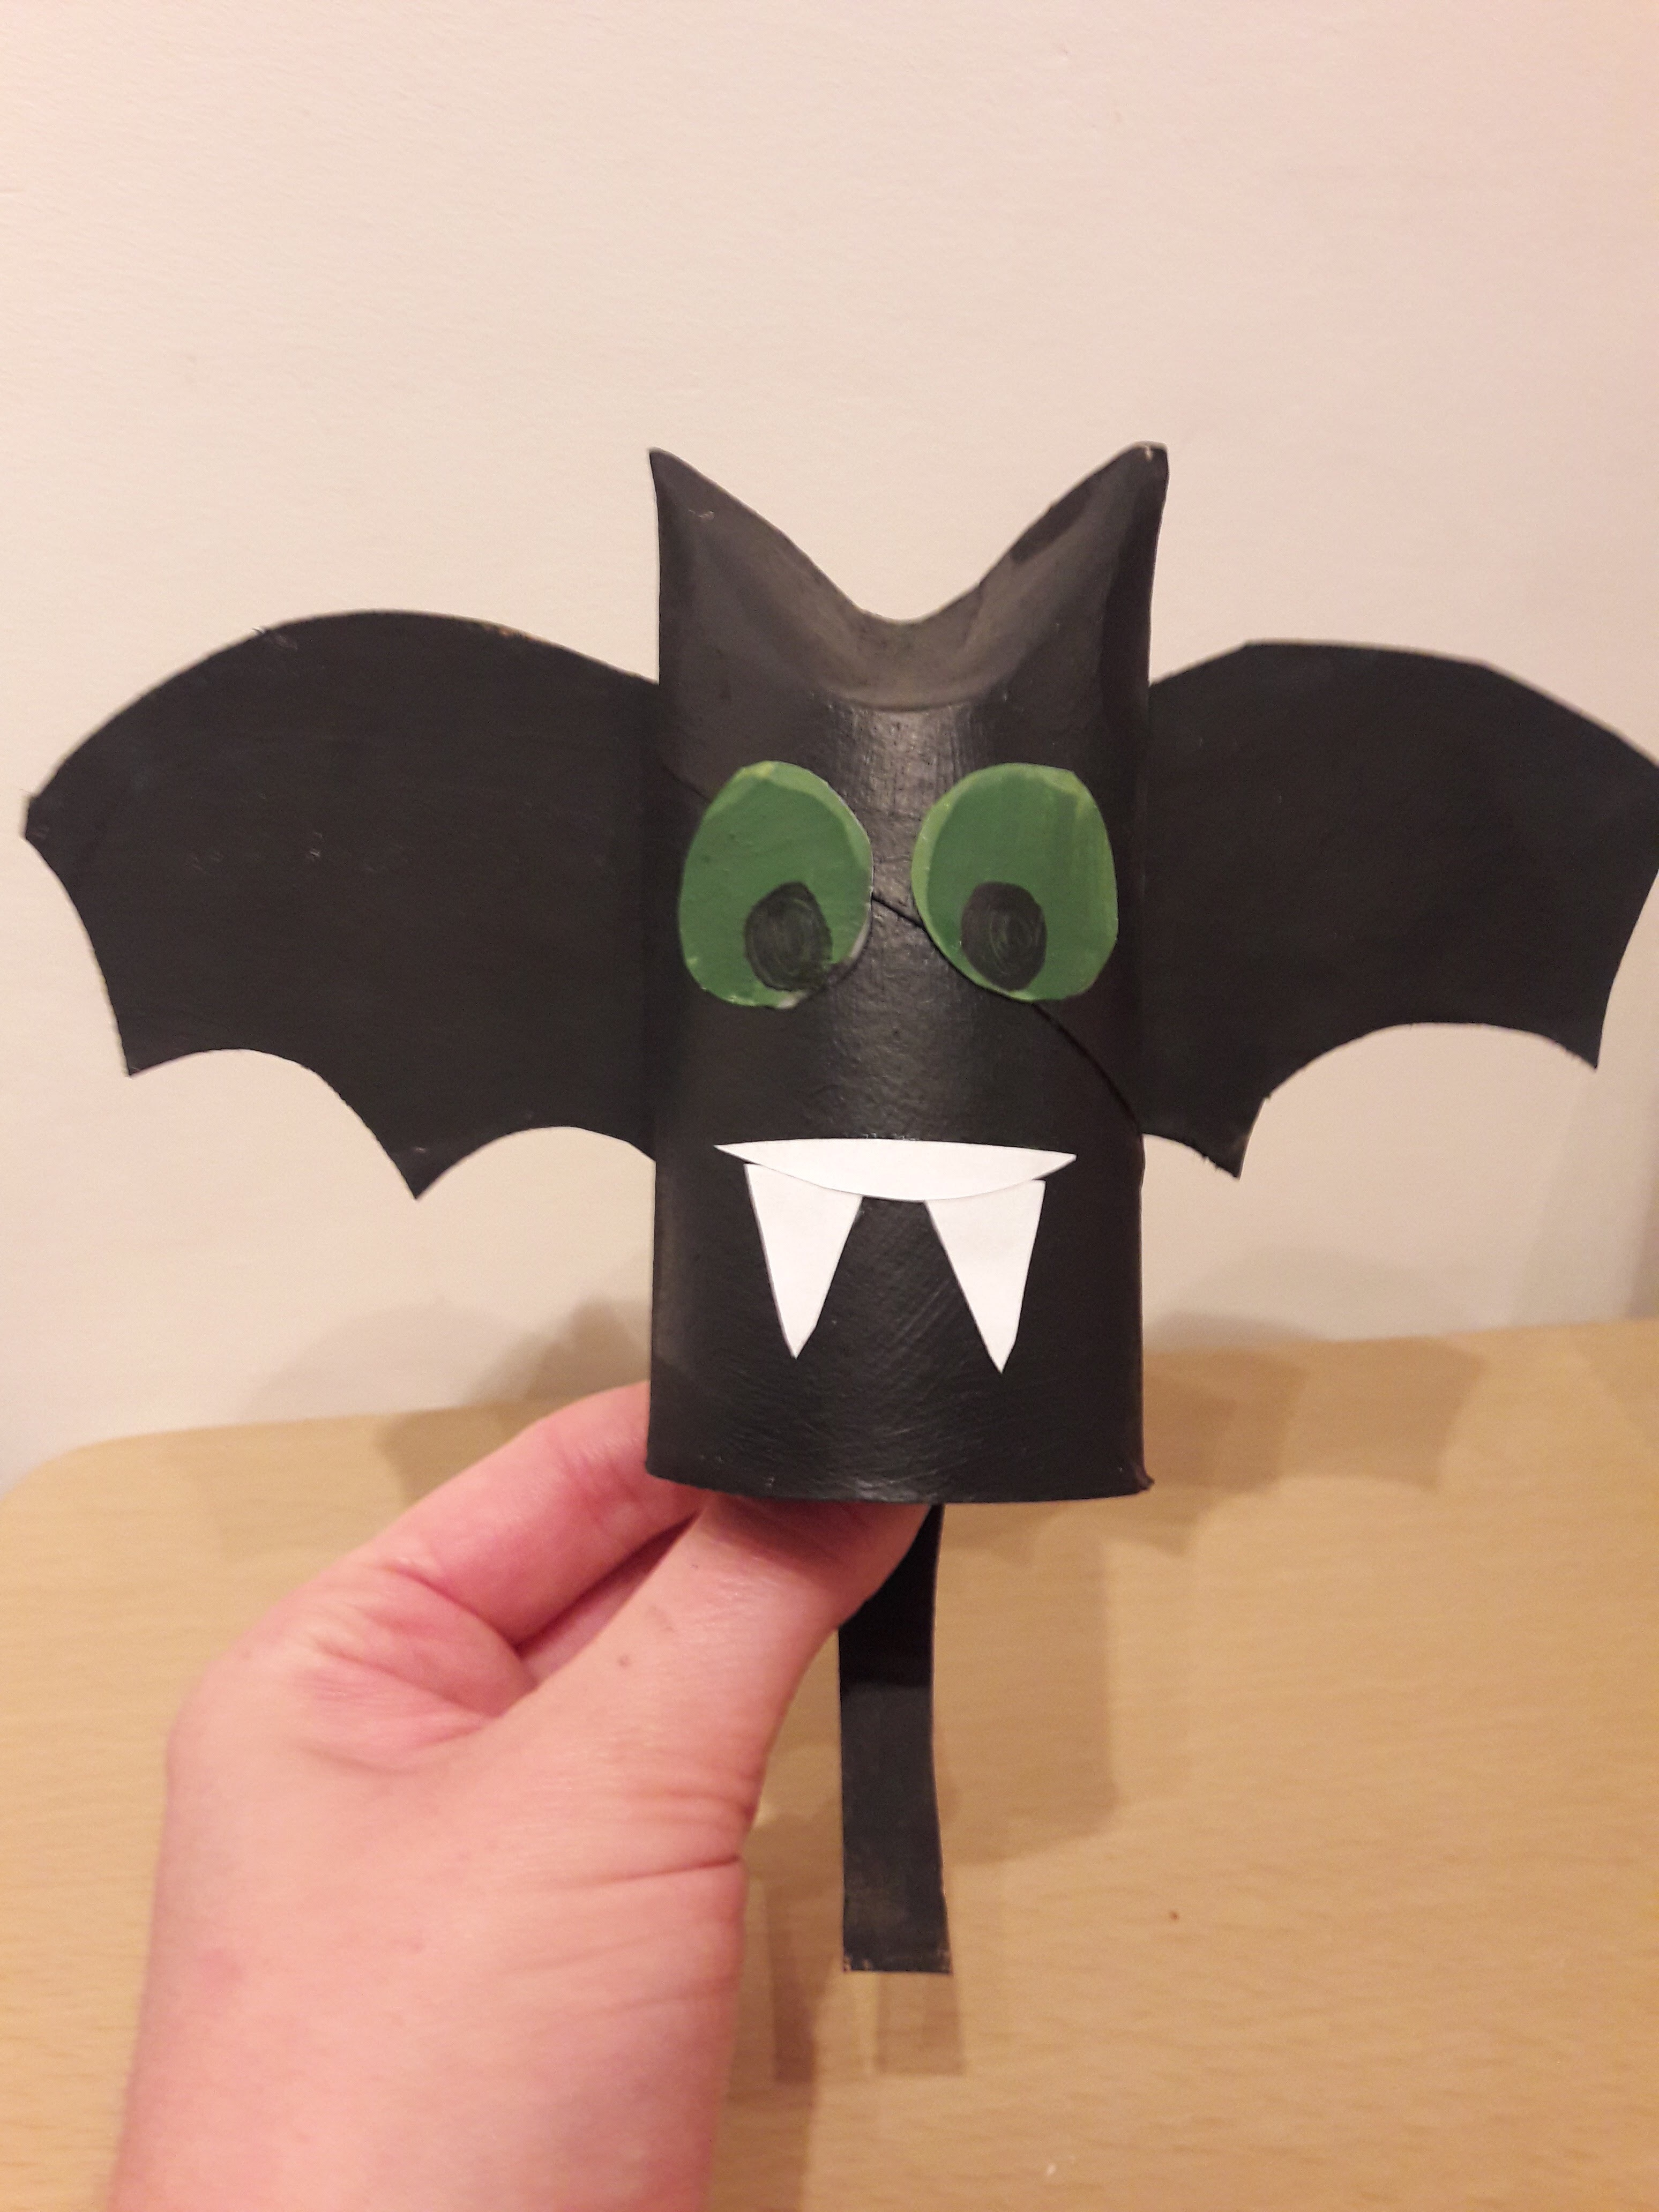
Halloween is near and if you’re in a spooky kind of mood, this is a great craft for you! With 5 simple steps you can make a Halloween Bat craft. This paper roll craft is easy and can be good to do with children aged 1+. You will only need a few materials, and you get to recycle those old paper rolls.
You will need1 Toilet paper roll
Black paint I used water colour based paint as it’s easy to wash up after. Try to avoid oil based paints, as they can be hard to clean, especially on toddlers 🙂
Green paint or marker for the eyes
Black marker for the eyes
Cardboard for the wings ( I used an old box)
Tape
Glue
Step 1
The first thing you will need to do it paint the ‘body’ of the bat. Using your black paint carefully cover the whole outside of the toilet paper roll and set aside to dry.
Step 2
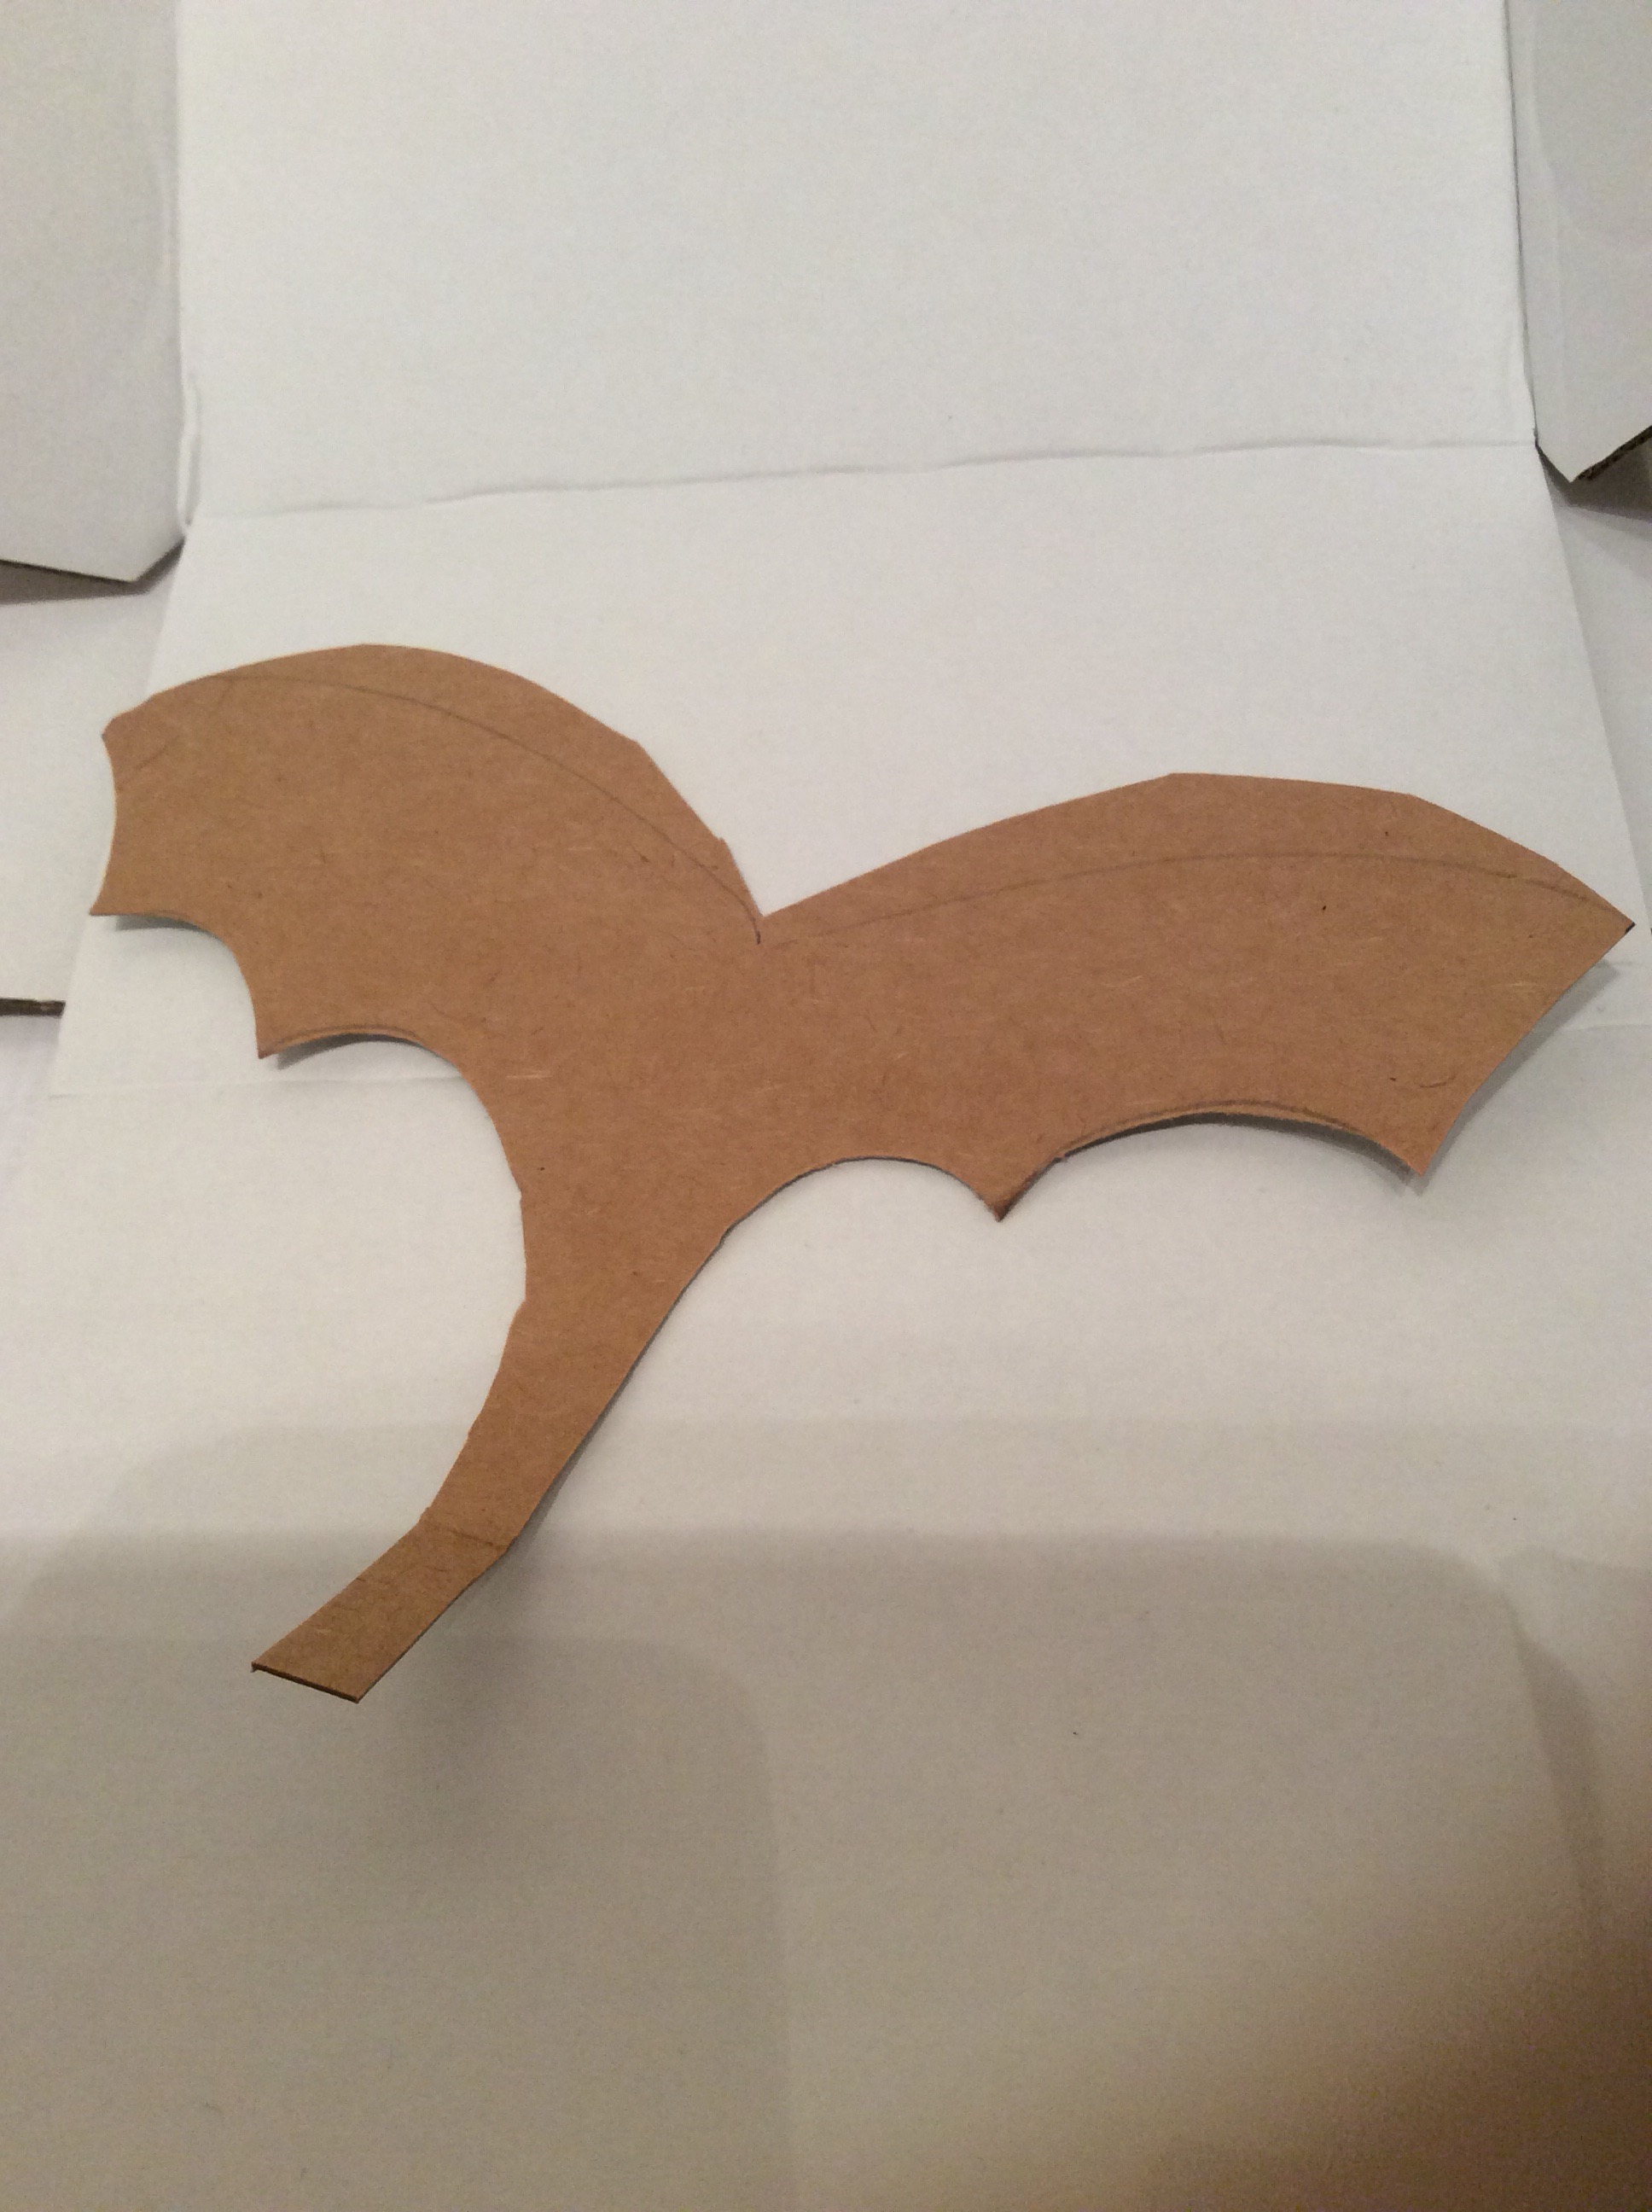
While you are waiting for the bat’s ‘body’ to dry, cut out a wing shape . Try to use only one piece, and leave a long stem at the bottom, like this picture below. This long stem can be used to hold and fly the bat around or hang it upside down when it’s complete. Once cut out, paint using black paint, and set aside to dry.
Step 3
Cut out 2 small circles for eyes. Paint using green paint and let the paint dry. Then using a black marker, draw small circles for pupils. Glue these on the front of your ‘bat’.
Step 4
Now its time to attach the bats wings to the bat. On the back side of the ‘bat’ stick the wings on using tape. Make sure to leave a small section, which can be used as a handle or used to hang the ‘bat’ upside down.
Step 5
All Halloween bats need fangs right?!? Don’t forget to cut out 2 small white triangles, and a small half crescent moon for the mouth. Glue these on under the bat’s eyes.
You’re now ready for trick or treating with a super scary halloween bat!
Happy Halloween crafters!


